
Andes Ode Quilt: Tips and Tricks
Cut larger pieces first
As you’ll notice when looking at the cutting chart, all the cutting happens from WOF strips. First you cut a given number of WOF strips, and from those strips, you
I try my best to have minimal waste in my patterns. This means that for some of the WOF strips, there will be two different sized cuts coming from the same strip. This is why I recommend you start with your larger cuts first - it’s easier to fit a small square in a remnant than a larger rectangle.

Use the tags included
I cannot stress this enough: use the tags included in the pattern! I know what you’re thinking “Do I REALLY need them?” And yes, yes you do. I made this pattern multiple times, and even when I thought I had it, having those labels saved me some serious time with my seam ripper.
It’s not that the piecing is complicated, it’s that there are a lot of pieces (almost 200 of them!), and keeping track of which pieces you're supposed to add to which row can get confusing fast, especially if you're doing one of the multi-colored versions, so use those tags and stay organized!

Lining ups rows and panels
One of the big things I heard from testers was how much they love not having points or seams to match white sewing the rows and panels together.
And that is exciting! Going from HSTs and matching points every step of the way on my Mighty Stars pattern to having zero worries about that felt liberating.
However, if you’re not careful this can quickly turn in a wonky mess with rows going to one side or the other. There are two tricks I used throughout while piecing both of my Andes Ode quilts.
Trick 1 - Mark the middle
I've used this trick before so it was go-to when I first started piecing the rows together. Once you have the rows you need for your panel, take each one, fold it in half and give it a good finger press. Then use that pressed line to match up adjacent rows and pin from the center out.
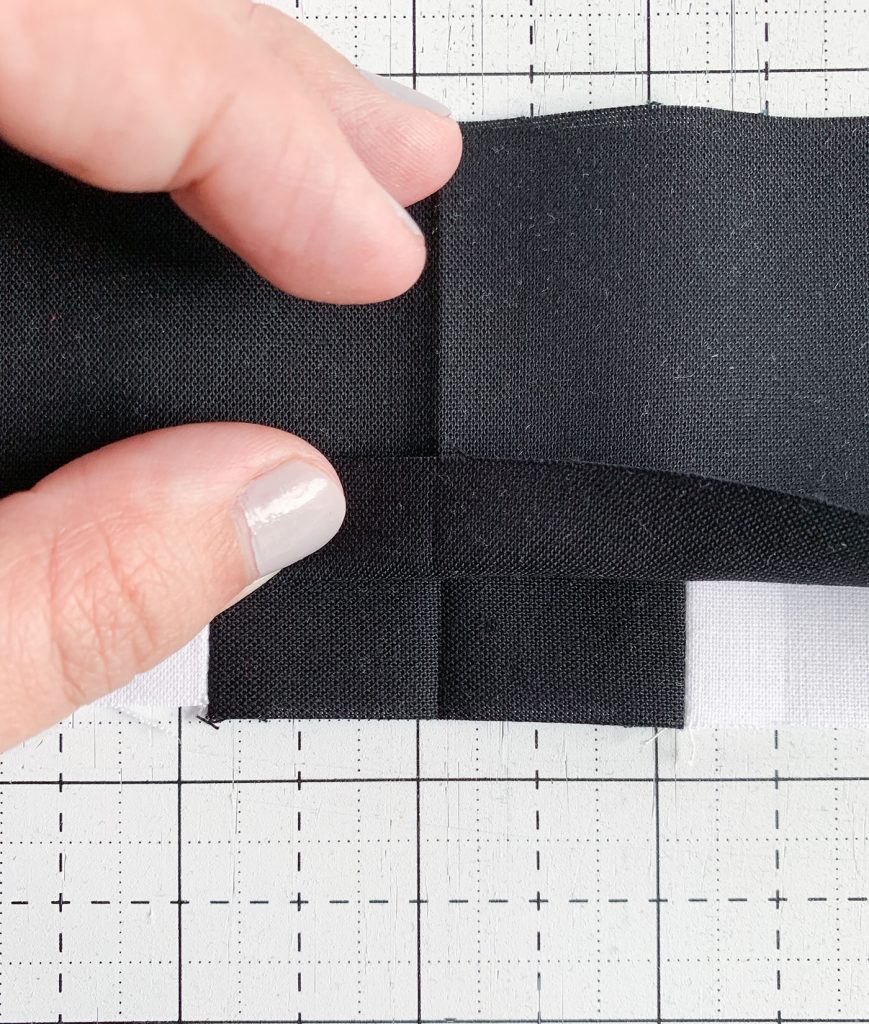
Trick 2 - Line up every other seam
This trick doesn’t quite work if you only have two rows you're trying to join, but once you are working on your third row, or on your panels, you can use the seams on the next row over keep things straight.
I do this by laying my rows right sides together, if you look at the picture below you’ll notice the seams on the top row match with the seams on the row I'm about to add to the bottom, or the one-over-row (look at the green lines).

So what I do is, I place my new row right sides together with my already sewn rows, line the bottom edges, and match my every-other seams carefully, pin, and sew.
