
A couple of weeks ago I shared on Instagram an itty bitty Halloween triangle pillow cover I made and I was asked what pattern I used. However, I didn’t have an answer because I kind of sort of made it up as I went. But today is your lucky day because I loved it so much I just had to make another one and I’m sharing the tutorial here!

Quick Note: This tutorial will cover how to make a pillow cover for a 12” x 12” pillow insert, but it can be easily modified to make pillow covers for bigger pillow inserts and I’ll share tips on how to do that along the way!
Materials
- Various coordinating fabric strips 4-1/2” tall
- 60-degree pyramid ruler
- One piece of batting 14” x 14"
- One piece of muslin 14” x 14"
- Two pieces of fabric for pillow back - 12-1/2” x 9”
Making Your Triangle Pillow Cover
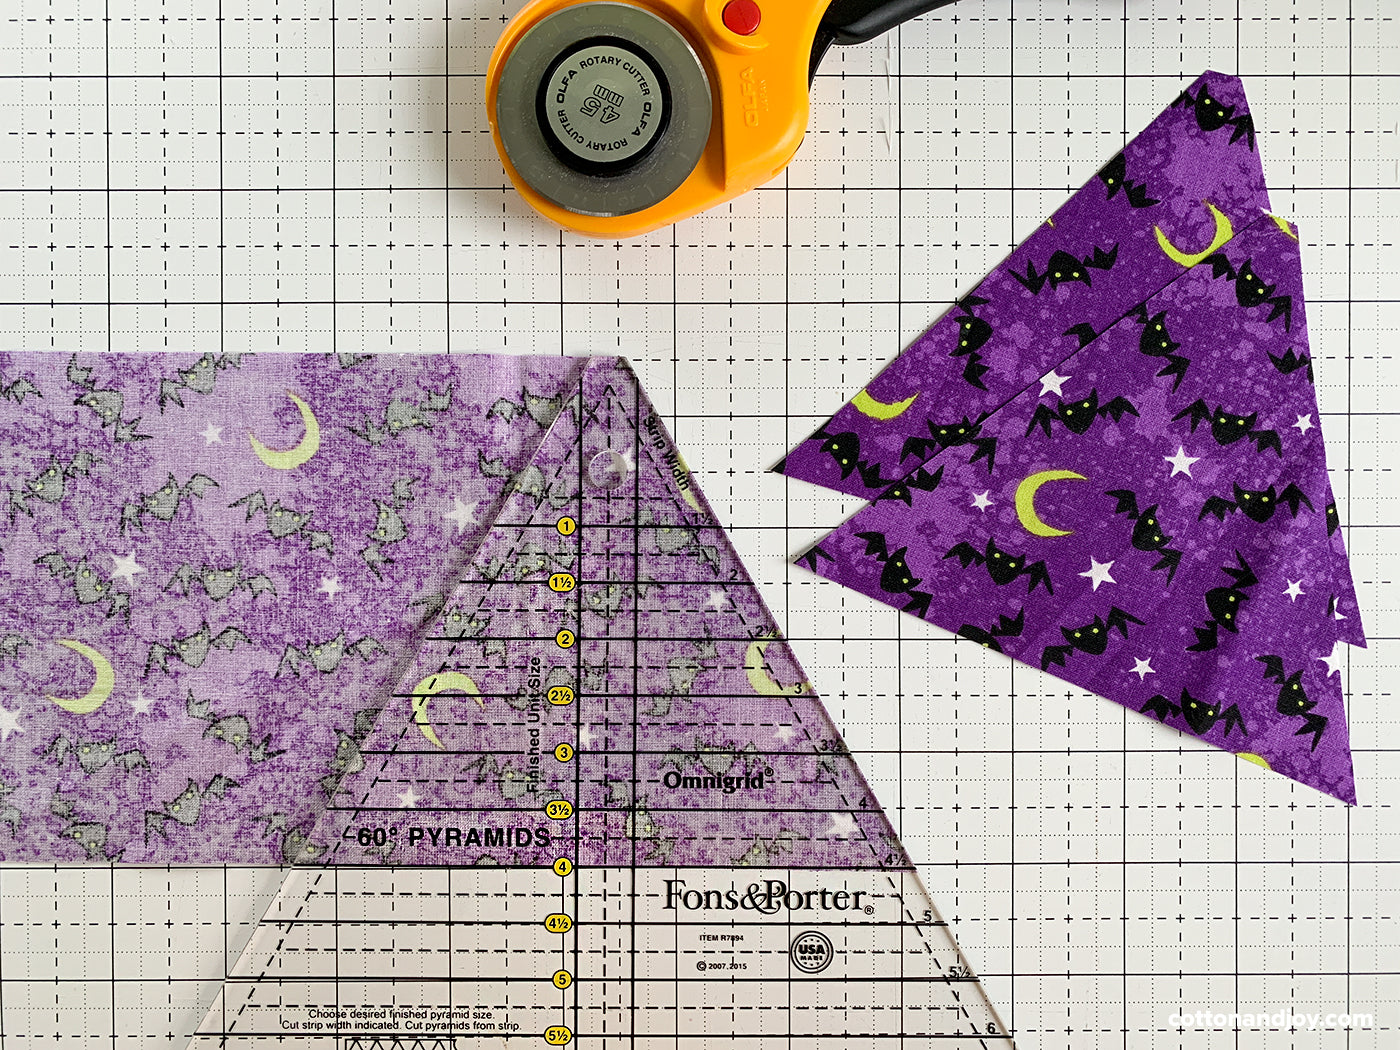
Step 1 - Cut Your Triangles
What I love about this ruler is how easy it makes cutting the exact triangles I need. For a pillow cover to fit a 12” x 12” insert with three rows of triangles, you’ll need 18 triangles cut from 4-1/2” wide strips so they’ll finish at 4” tall.
I didn’t have a specific number of fabrics I wanted to use, I just grabbed all my Halloween fabrics and picked the ones that worked best together, cut 4-1/2" strips and cut my triangles.

Tip: If you’re using a larger pillow insert, you can either add more rows of triangles or divide the height of your pillow insert by 3 to get the height of finished triangles you need, then add 1/2 inch to get the size of the strips you’ll need to cut the triangles from.
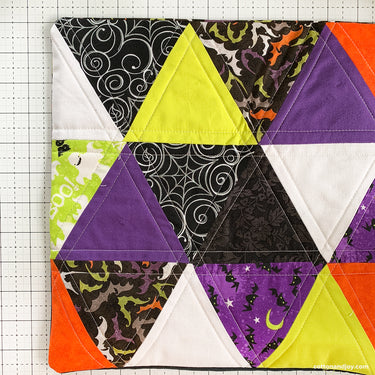
Step 2 - Arrange Triangles
Once I had all my triangles I laid them out on my table and played with them until I had an arrangement I liked. There’s no science behind this, just go with whatever looks right to you.

Step 3 - Assemble Pillow Top
Starting with the top row piece the triangles together using a 1/4” seam allowance. Press seams open. Trim the pillow top to 12-1/2” x 12-1/2”.

Step 4 - Quilting
Baste the muslin, batting, and pillow top together as desired (I used basting spray) and quilt. I did some quick straight line quilting using the triangle seams as my guide.

Step 5 - Pillow Back
Step 6 - Finish Pillow Cover
Lay the quilted pillow front right side up and lay the two back pieces right side down, aligning the raw edges and overlapping the two hems in the center.
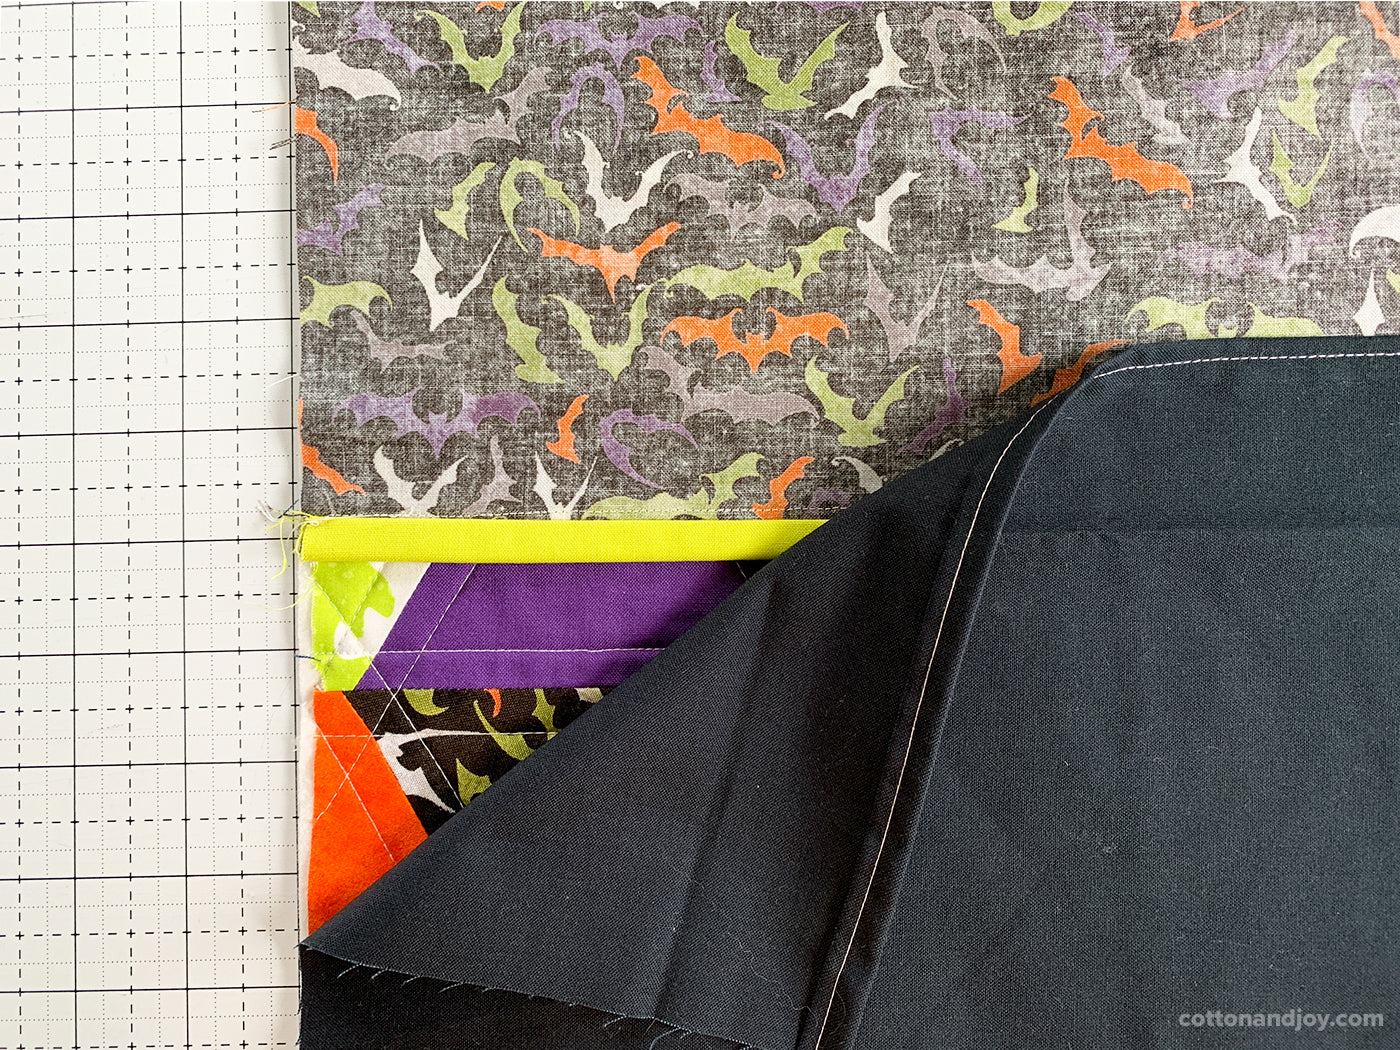


Sew around the entire outer edge of the pillow using a 1/4” seam allowance. Clip corners and turn your pillow right side out through the gap in the back. Poke out the corners and press to finish.
And you are all done! I loved making these little triangle pillow covers and I'm already planning on making ones for Christmas and for our little guys' room!