
Welcome to the Quilting for Beginners series! This is the third post in the series where I share tips for cutting fabric with a rotary cutter. You can read other posts in this series here.
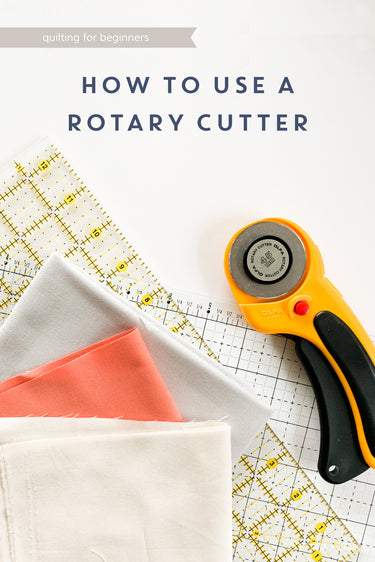
As I got more comfortable in her sewing room for the first time, my sewing and quilting teacher introduced me to my one true love - the rotary cutter. If you are here from the first post in this series about quilting supplies, you saw a few things go together - cutting mat, acrylic ruler, and today's star, the rotary cutter.
At first look, they look simple enough, the obvious goal is nice and straight lines, but here are a few tips on how to properly use a rotary cutter to get perfectly cut pieces.

The Rotary Cutter
First, a quick word on rotary cutters. What are they? How do they work? Rotary cutters look (and work!) much like pizza cutters. Round blade that rotates to cut.
The sizes and shapes are many, but this one is my favorite. The 45mm blade is big enough to handle multiple layers of fabric at once but not too big. The ergonomic handle allows me to hold the cutter at the perfect angle without making my wrist suffer.
Whatever you do, make sure you get a rotary cutter where the blade pops out, instead of one where the guard is pushed in while cutting. You can see what I mean below - on the right, I'm holding the guard down. Long story short, I made this mistake and fabric would get caught on the guard and move, and argh, nothing looked right.

Cutting Fabric With The Rotary Cutter
Prep Work
Before you ever pick up with rotary cutter, you'll want to prepare the fabric for cutting. Whether or not you prewash fabric, pressing it is a non-negotiable for accurate cuts.
First, fold the fabric, so the ends meet. Doing this might mean unfolding and refolding, shaking fabric a little, etc. and the non-selvage edges might not be straight anymore - don't worry about that. The only thing that matters that the selvage edges are together and straight.
Now give your fabric a good press and make sure your folded edge is nice and crisp.
Second, prep your cutting area. Lay out your cutting mat and clear the space all around it. Nothing like having toy cars or some candles just off the mat to mess up your cutting. Not that I know anything about this.
Cutting Your Fabric
Step 1 - Take your fabric piece and lay it on your cutting mat, so the raw edge is on the right side. Line up the crisp folded edge to the bottom of your mat.
Step 2 - The first cut will be to the right edge to square up the fabric. Line up your ruler with the folded edge using the lines to make sure it's straight.
Step 3 - Place your left hand on your ruler to hold it in place. If you're using a long ruler like a 6" x 24", you might want to get your elbow involved in keeping your ruler from moving. I've found that moving my hand up mid-cut makes my ruler move, but also this elbow move can hurt my shoulder after a while, so use with caution.

Step 4 - Cut along the ruler with your right hand. Apply even, steady pressure. If you're new at this, know that it takes more pressure than you think it will.
Step 5 - Next, rotate your fabric so the squared edge you just cut is on the left. To avoid messing up your work up to this point, do this without lifting the fabric.
Step 6 - Line up your ruler to the measure you need to cut. In this case, I'm going for a 5 inch strip. Line up the ruler at the folded edge and then make sure it's straight all the way down on the squared edge as well.
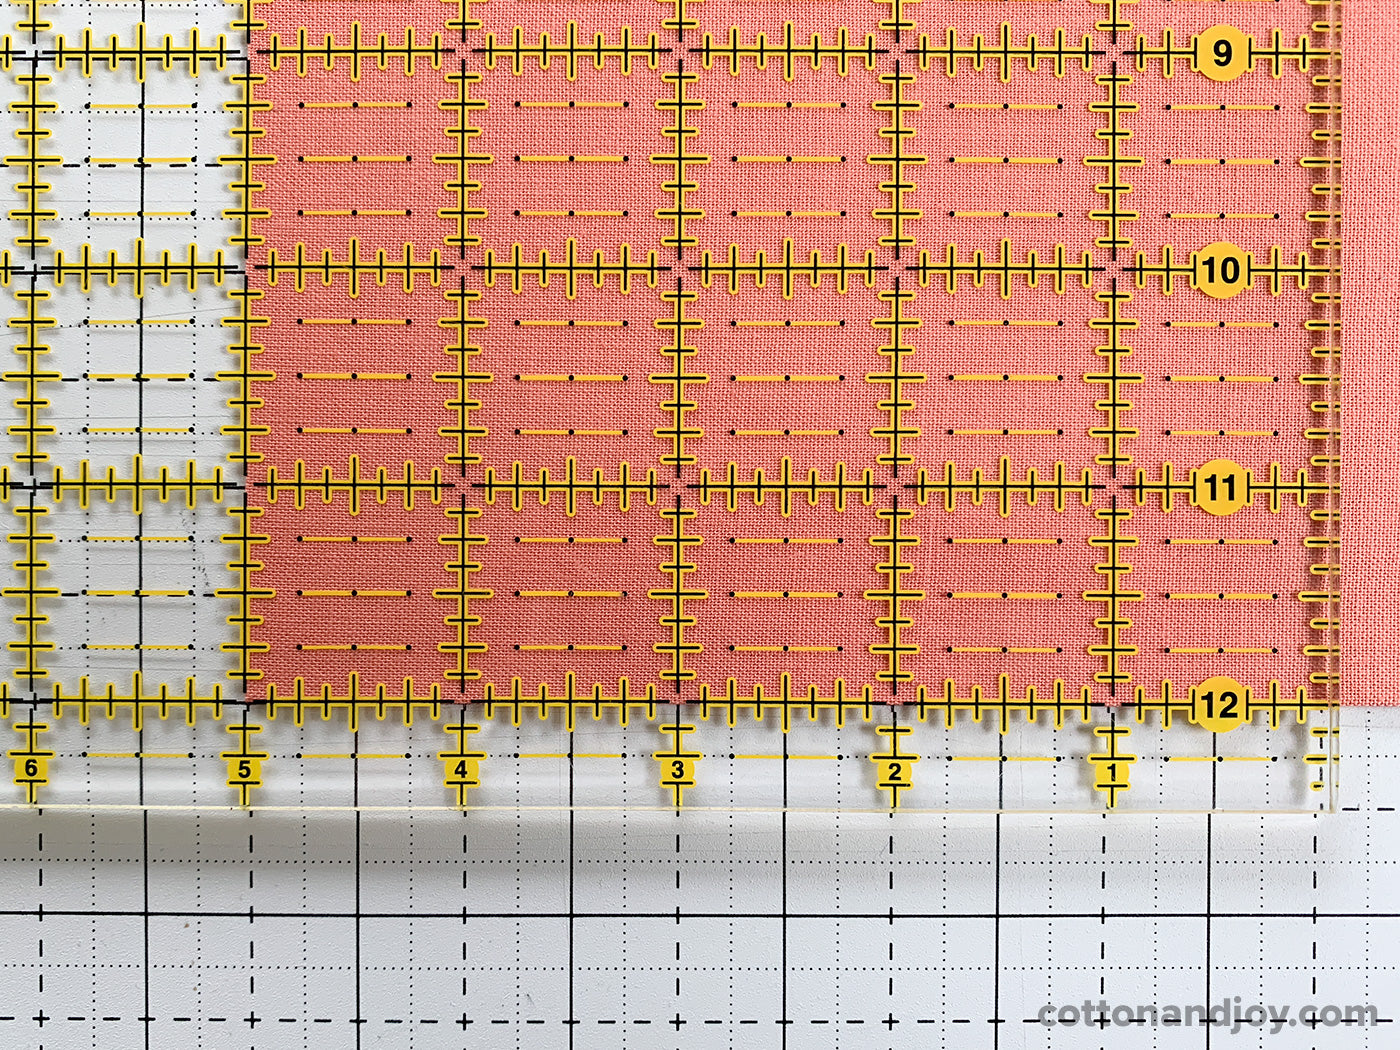
I like to move my cut piece out of the way, but do not move the rest of my fabric. I just position my ruler on top of the fabric and continue with the rest of my cuts.
Final Tips
The key thing to remember when rotary cutting is that you need to do a firm, quick cut. Cutting slowly can cause the fabric to shift. If you are having issues making cutting the fabric with one cut, you either need to apply more pressure or your blade needs to be replaced.
As you gain more confidence using your rotary cutter, you'll be able to cut fabric faster and do multiple layers at once!


Hey, Pat, my new Fisker’s cutter won’t cut worth a darn either. You wrote this comment a year ago, so what have you found?
Thank you in advance!
Catherine
I have a Fiskars rotary cutter that won’t cut fabric. My cutter doesn’t have a washer. Should it for proper performance? I recently purchased a new blade and it still won’t cut fabric. I am not a quilter. Only wanting to cut fabric for rag wreaths.
Thank you.